Data Flow
Thingsboard will act as services layer after IoT Core. Your Edge devices (Greengrass) or IoT devices will connect into AWS IoT core.
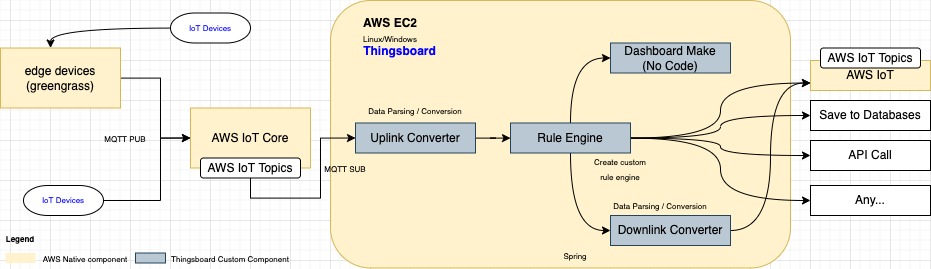 Data flow of thingsboard on AWS
kindly note that thingsboard can also be installed on AWS EKS (Kubernetes). On this article, we're going to use AWS EC2 (Basically a Virtual Machine)
there are three main component of thingsboard on the data ingestion journey.
- Uplink converter - responsible to transform incoming message from AWS IoT Core Topic
- Rule engine - responsible to generate custom rule pipeline and orchestrate it
- Downlink converter - reponsible to transform outgoing message from thingsboard to various node (eg: Apps surroundings API, Store to DB, Notification, ETC)
Preparation
Before we can install and deploy thingsboard on AWS (Amazon Web Services) you may need to prepare following things.
Active AWS Account
if you dont have AWS Account, you can register on following page: Create new AWS Cloud Account.
please note that thingsboard require T3 EC2 instances which not covered in AWS always tier package. You may need to prepare some credit or get your credit card ready.
Active Thingsboard Professional License
Thingsboard offer several different package plan. In order to integrate things board with AWS IoT Core or AWS Kinesis you need (minimum) profesional license which cost arround USD$10 / Month. Higher license will increase the number of devices that can be added (provision) to the thingsboard
Profesional License support up to 10 Devices
go to their pricing plan page to review the offering. Before you can buy subscribe to the plan, you need to create an thingsboard account.
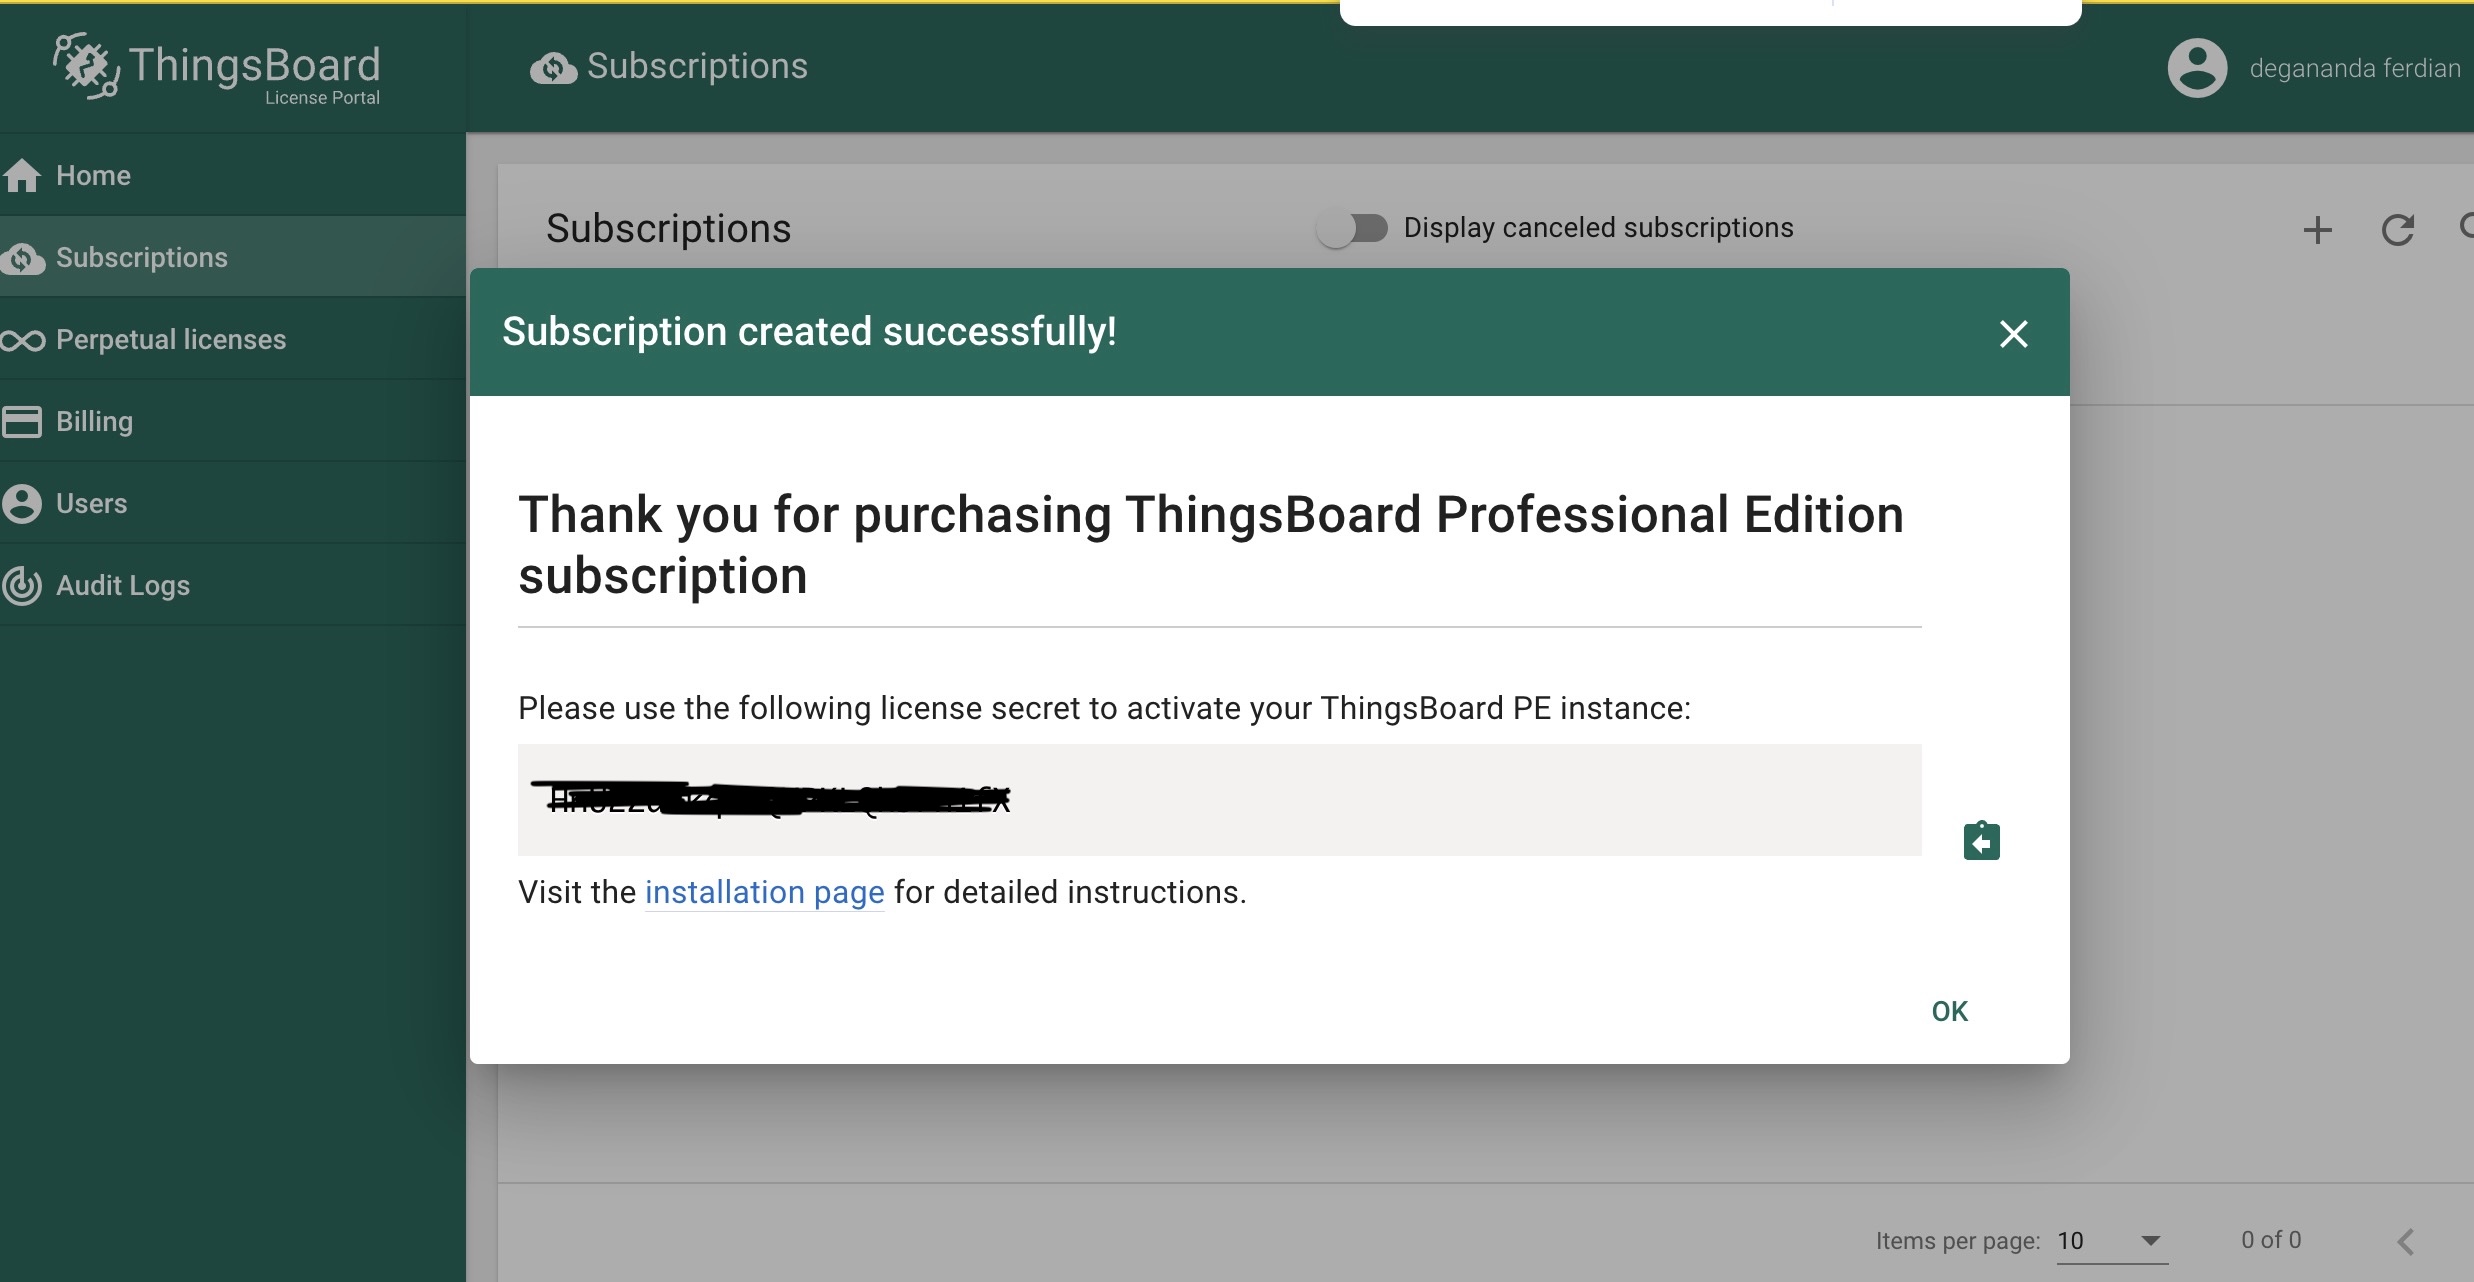 Thingsboard License Secret Code
Once you bought it, please ensure that you have active thingsboard subscription and dont forget to copy the secret code
EC2 Deployment with thingsboard from marketplaces
Deploy thingsboard to EC2 with custom AMI
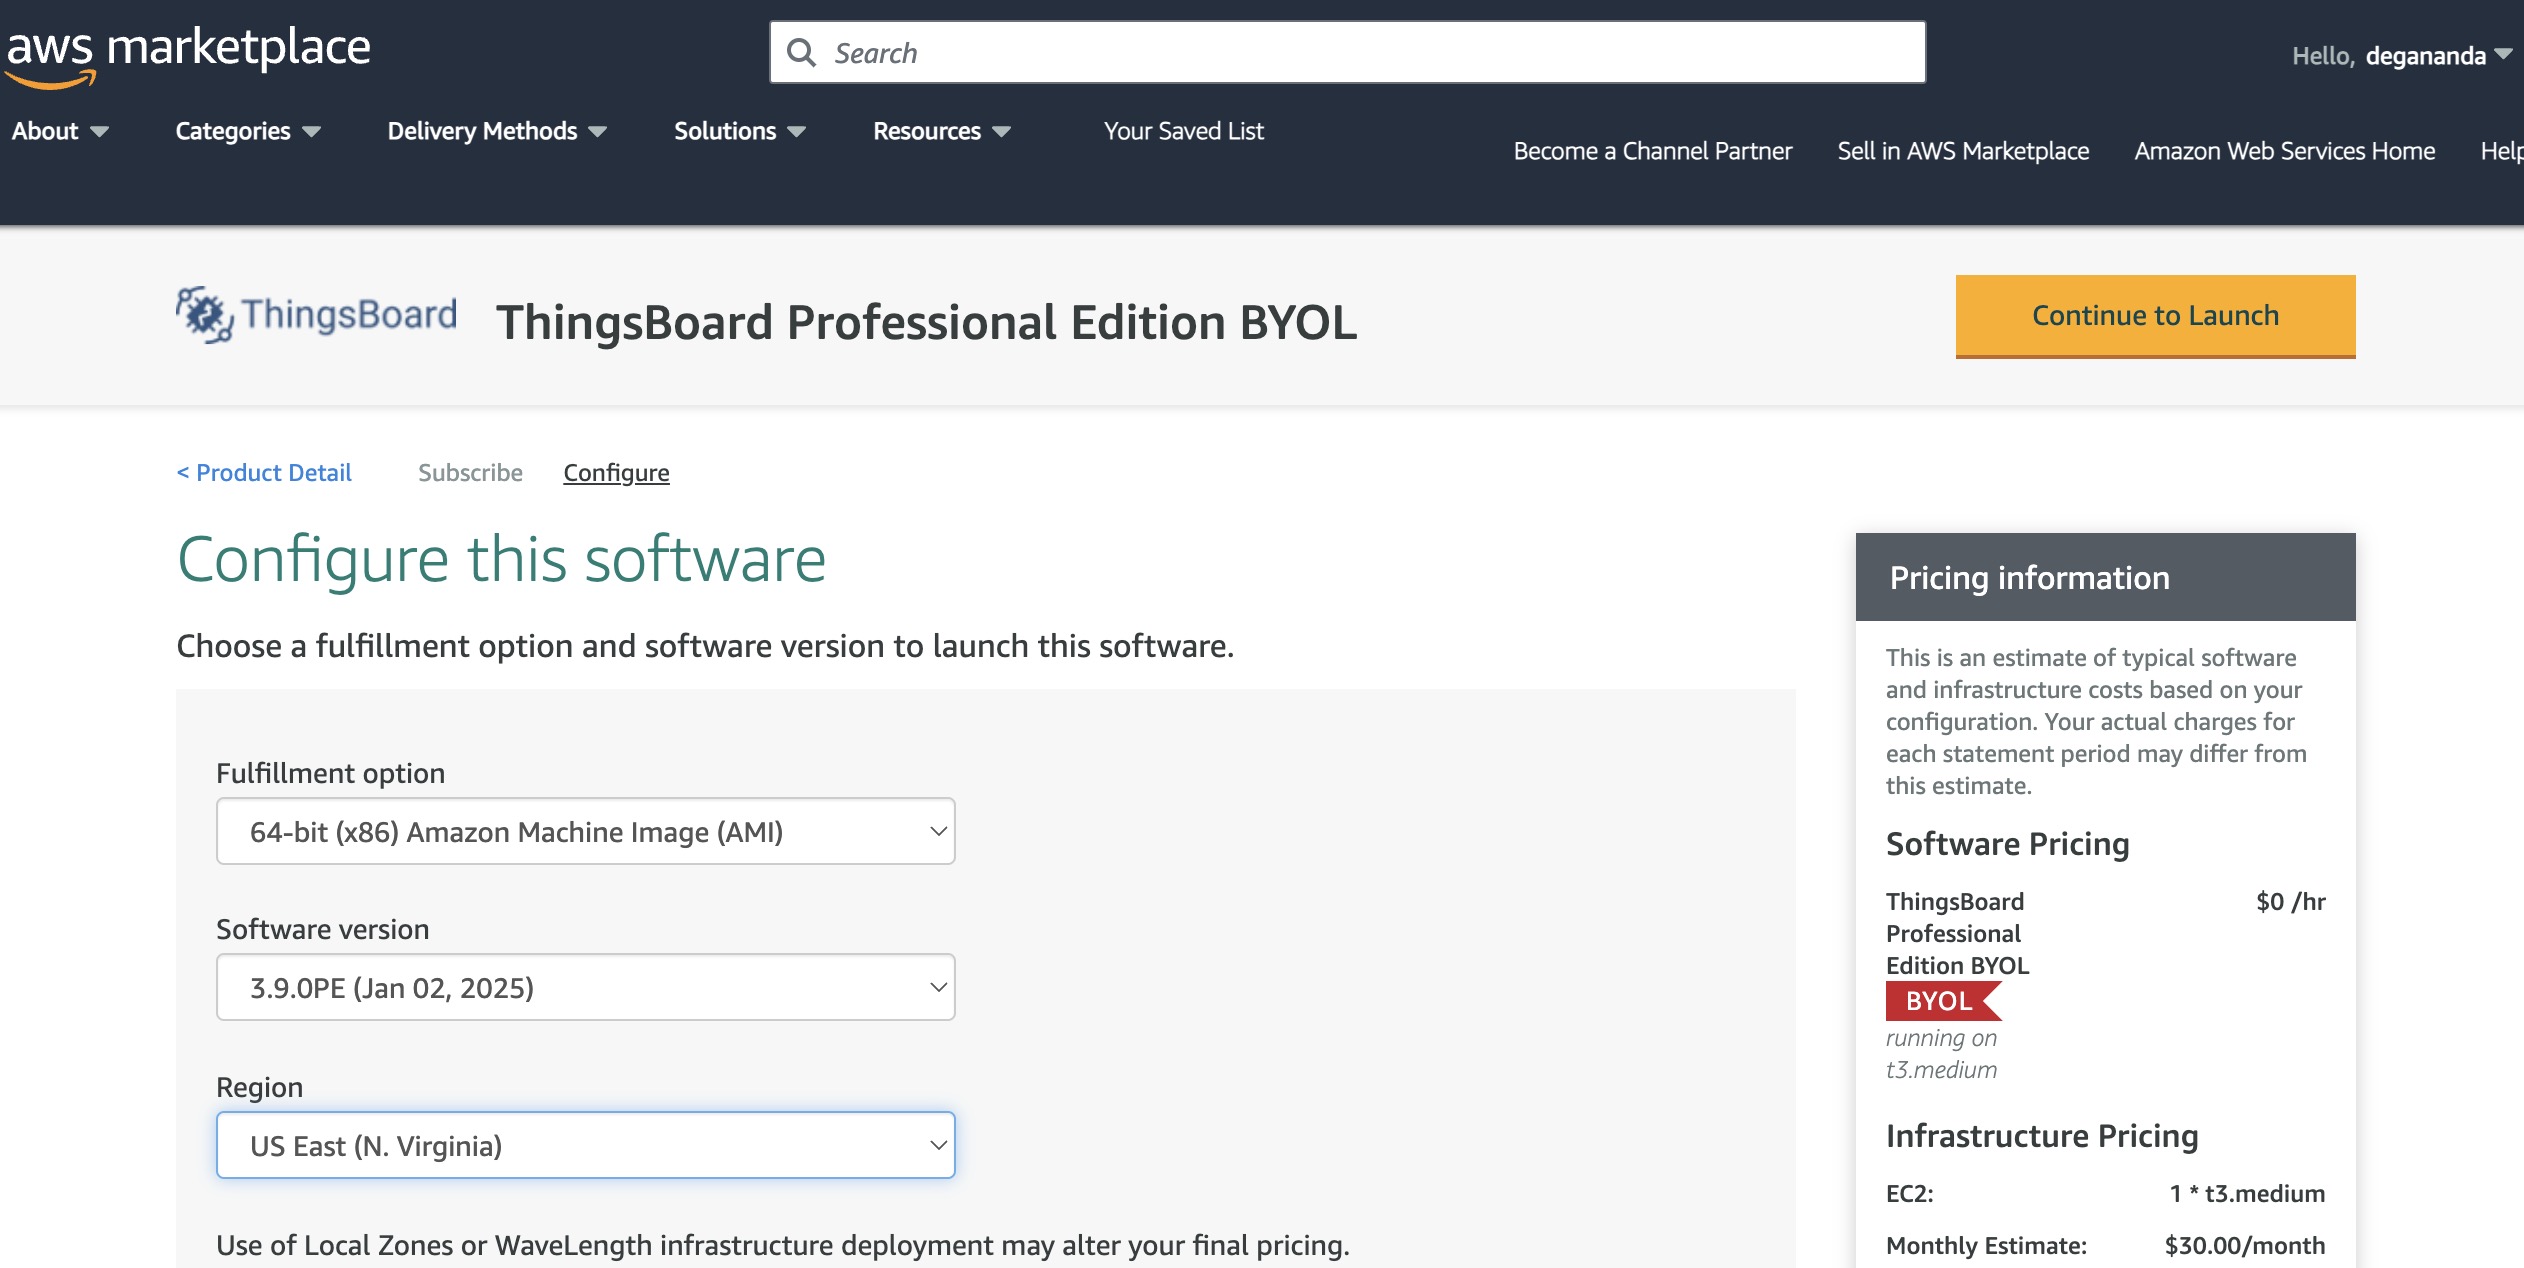 Config and Subscribe thingsboard on AWS Marketplace and launch via EC2
visit thingsboard professional edition on AWS Market Places and launch it via EC2.
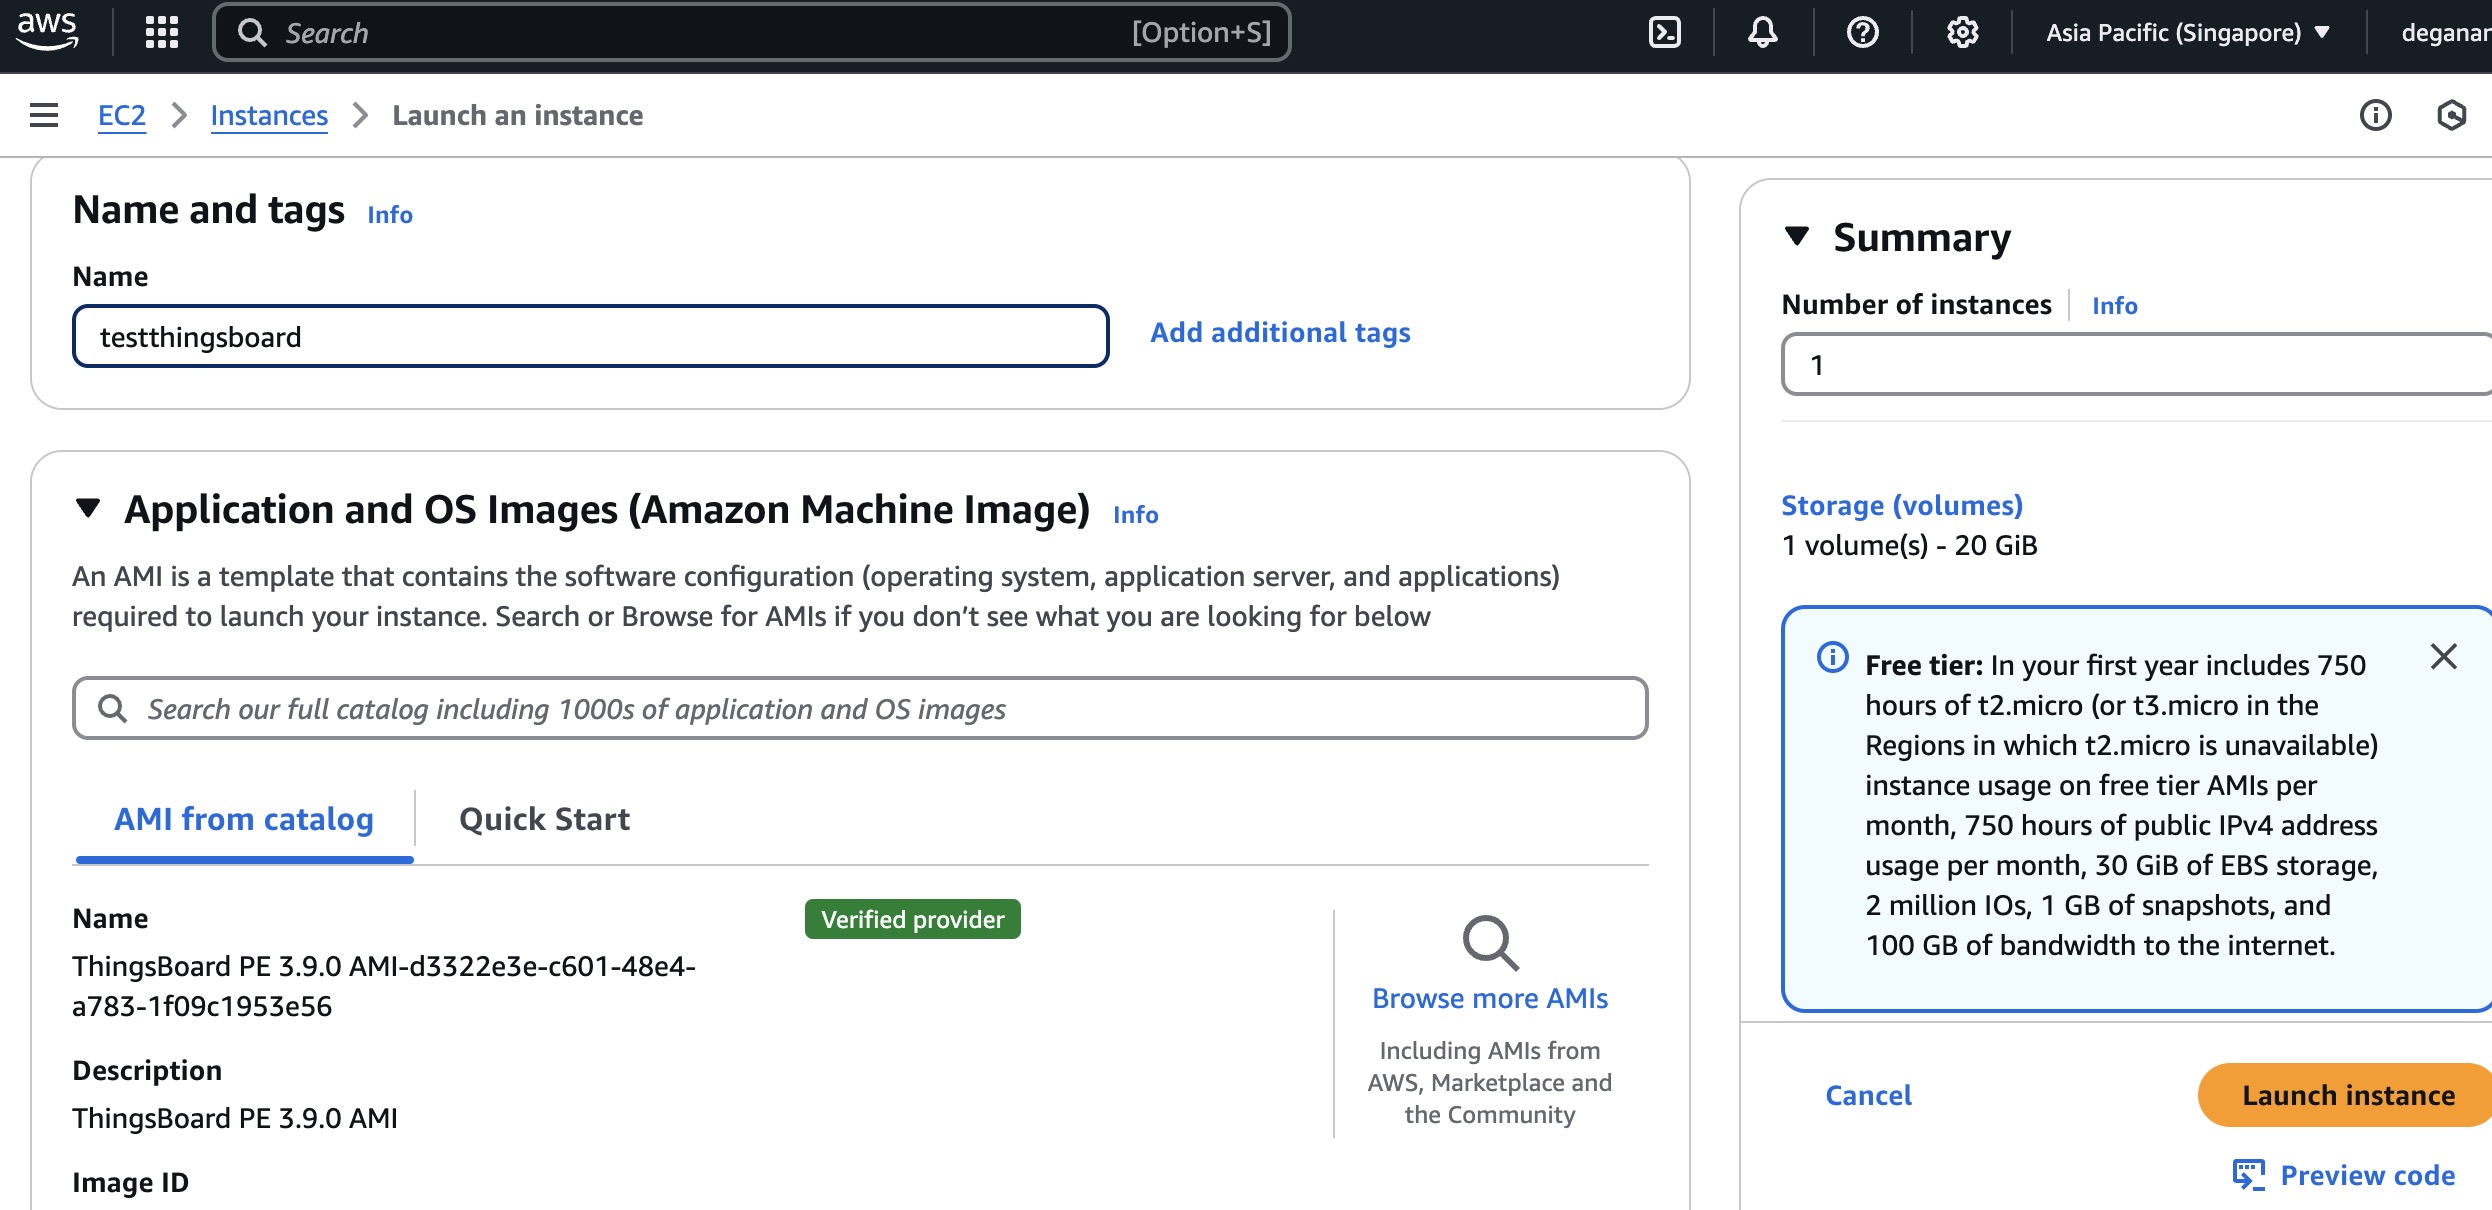
Once you redirected on the EC2 pages, you can select the EC2 Configuration. thingsboard require minimum of T3 EC2 Instances (higher is better).
Verify thingsboard EC2 Instances are active and running
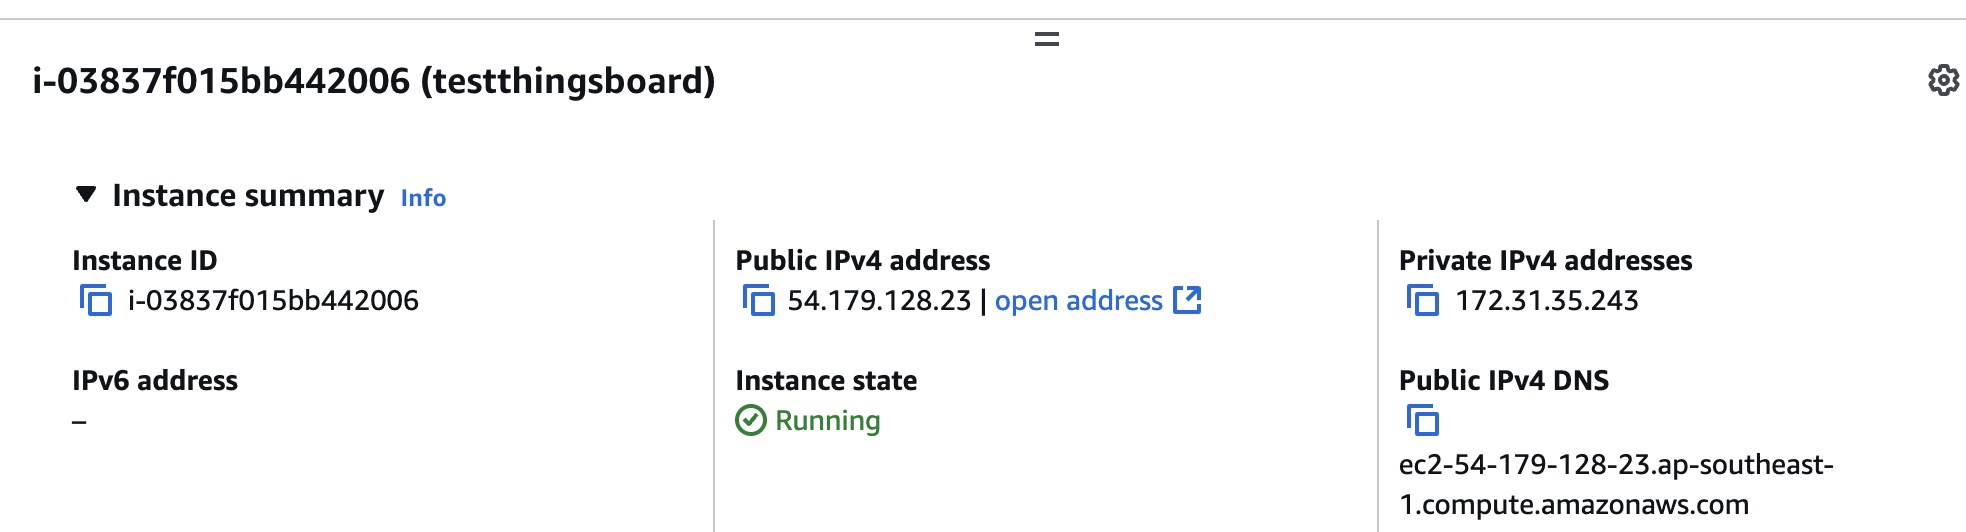 check EC2 instances status
wait until the launch process complete and ensure the instaces are active and running.
check EC2 instances status
wait until the launch process complete and ensure the instaces are active and running.
Configure Thingsboard on EC2
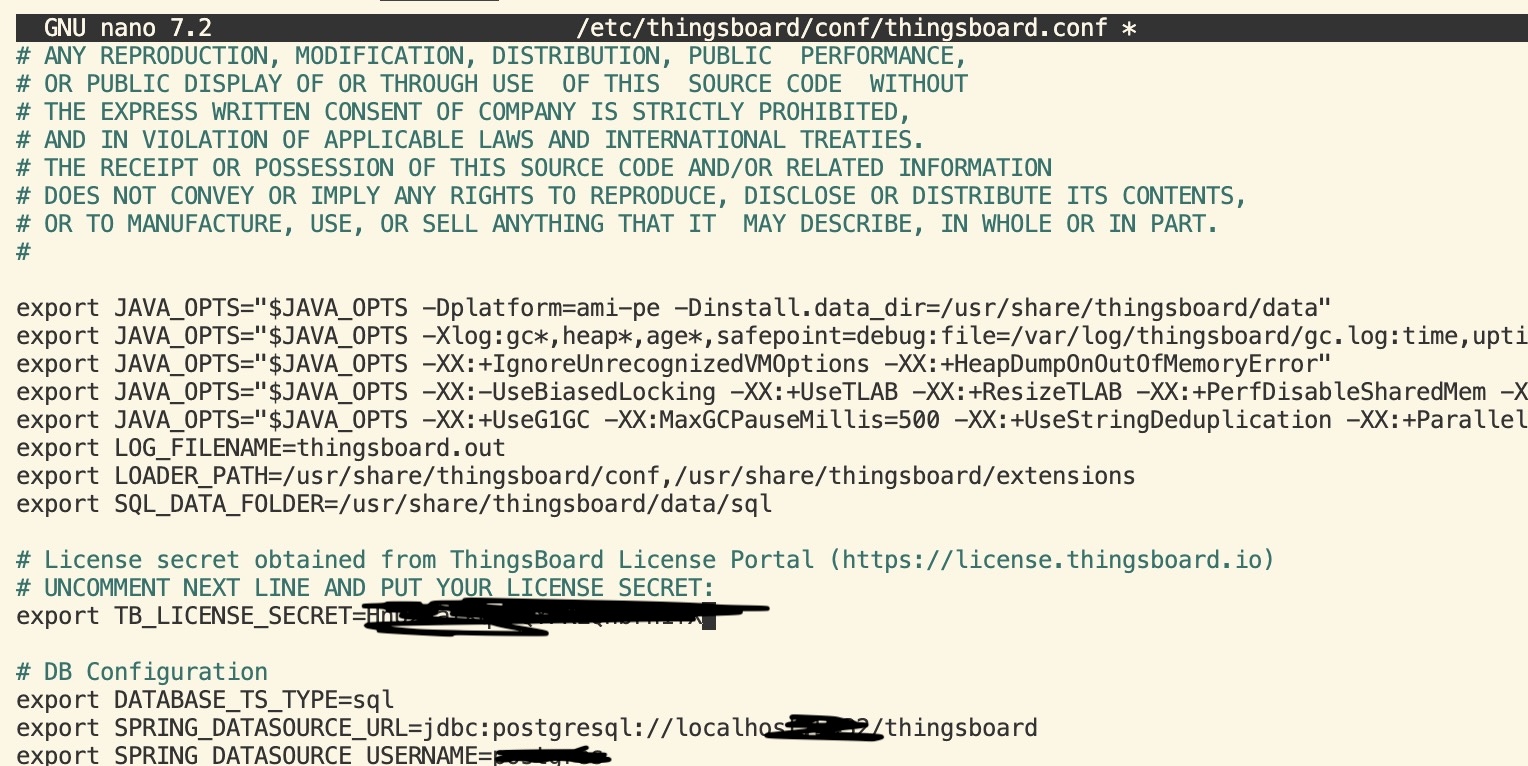
Update TB License Secret
wait until the launch process complete and ensure the instaces are active and running.
Login to your EC2 and update TB_LICENSE_SECRET parameter on the configuration file.
sudo nano /etc/thingsboard/conf/thingsboard.conf
and change the TB_LICENSE_SECRET value using your thingsboard professional license secret
Start thingsboard services
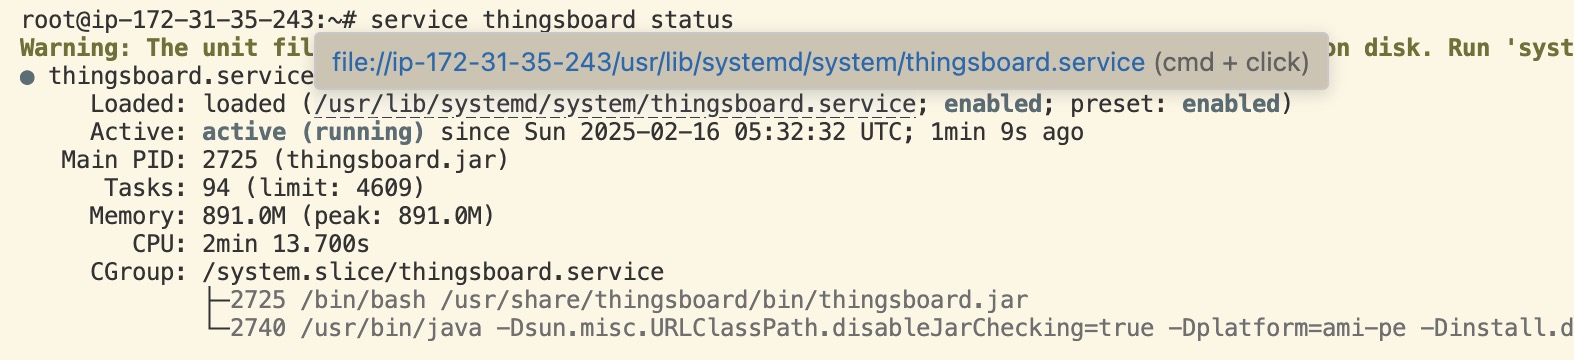 Check thingsboard service status
thingsboard is build using spring. To start thingsboard you can use following command
sudo service thingsboard start
check whether the services already running or not using following command
sudo service thingsboard status
Login to your thingsboard platform
Retrieve your Ec2 Instances ID
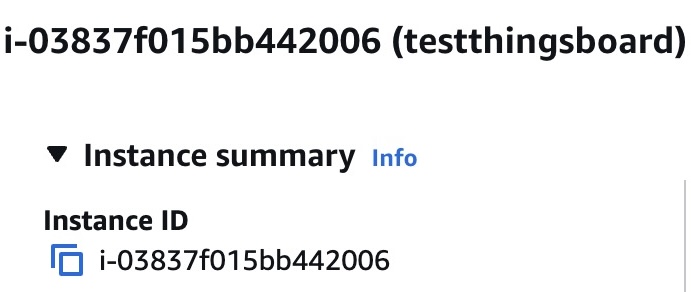 EC2 Instances ID as default password
you need to retrieve your thingsboard’s EC2 instances ID. this ID will be used as default password (you can change it later once you can login).
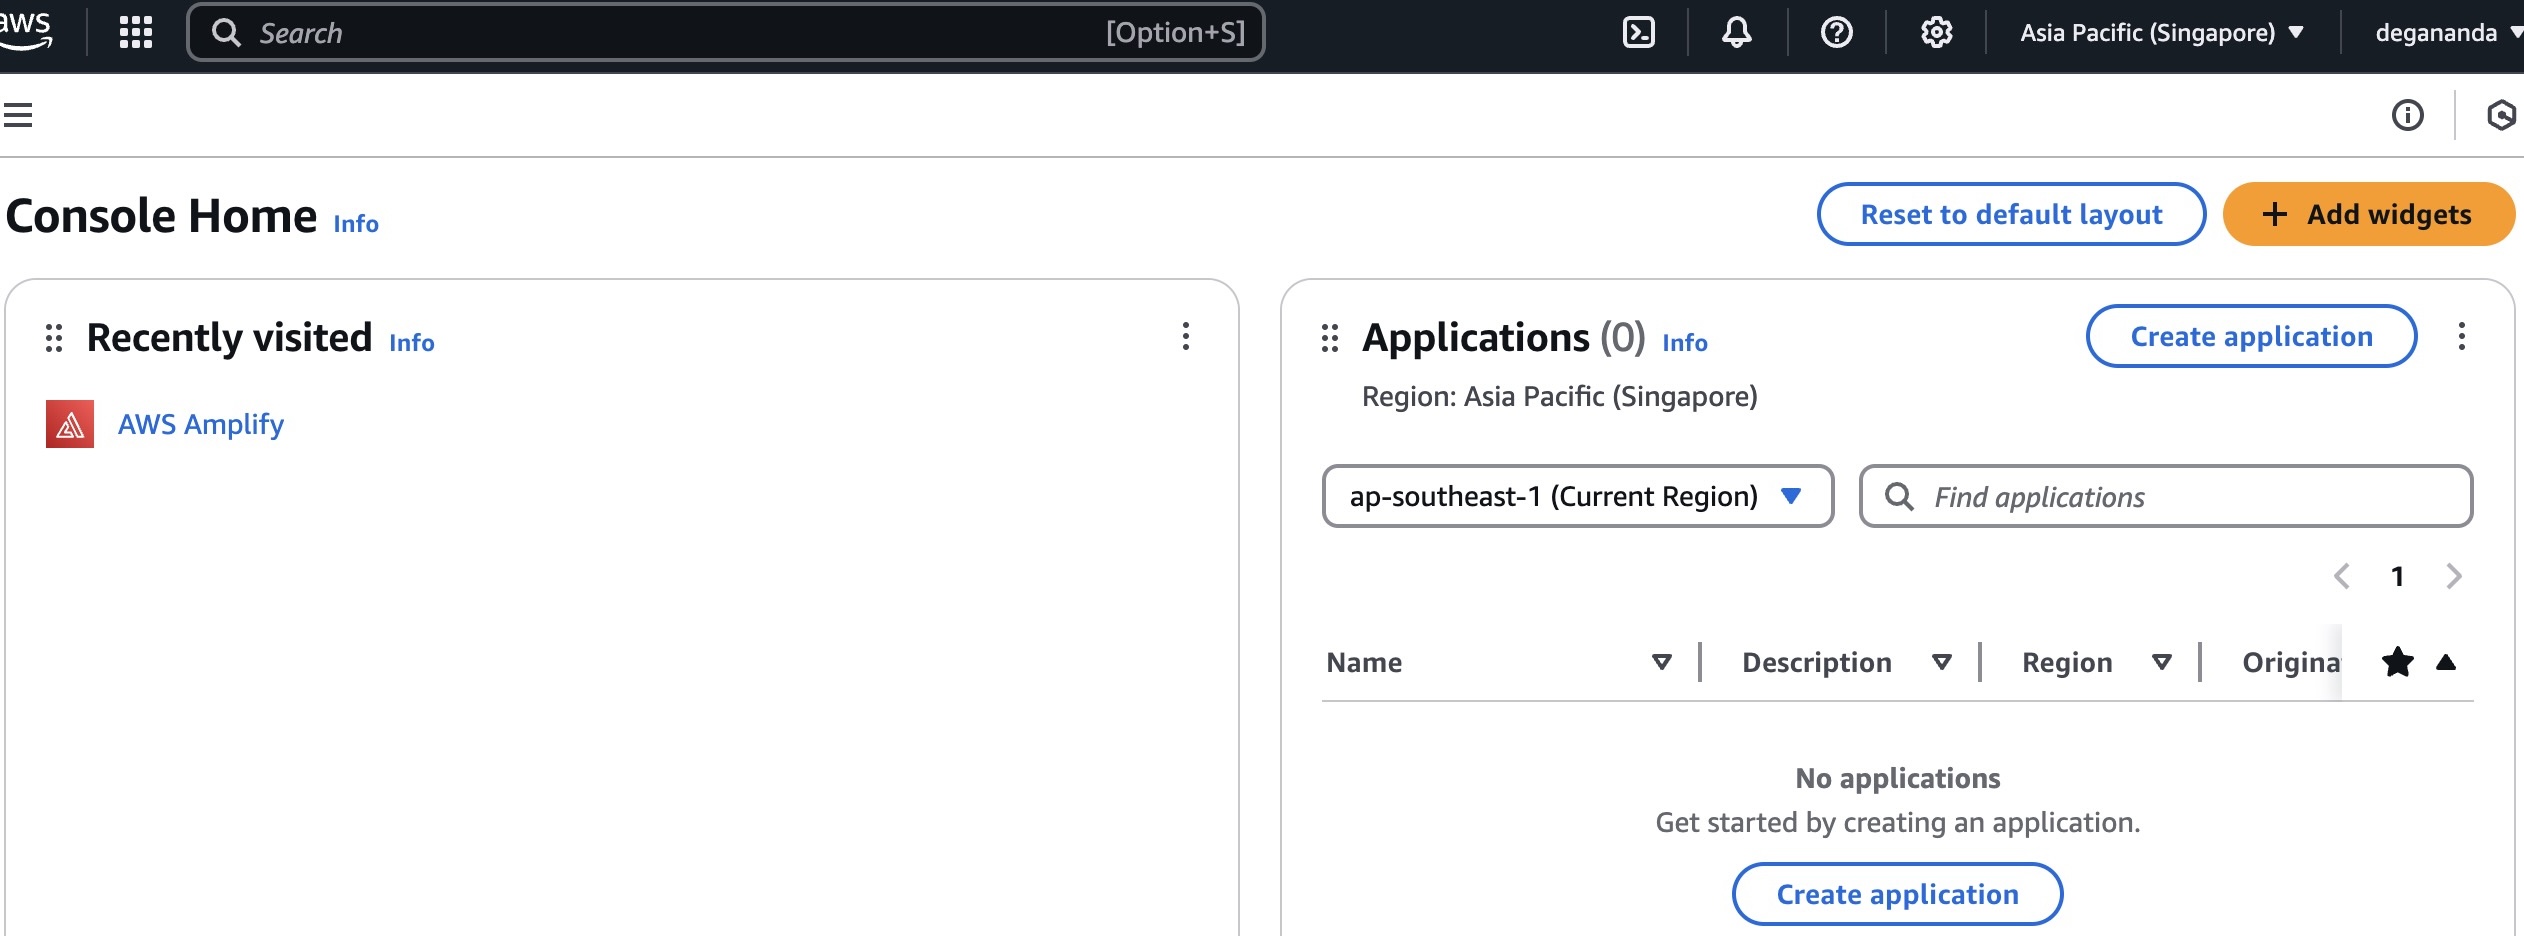
to retrieve EC2 instances ID simply go to AWS Console and view EC2 Instances Details.
Login
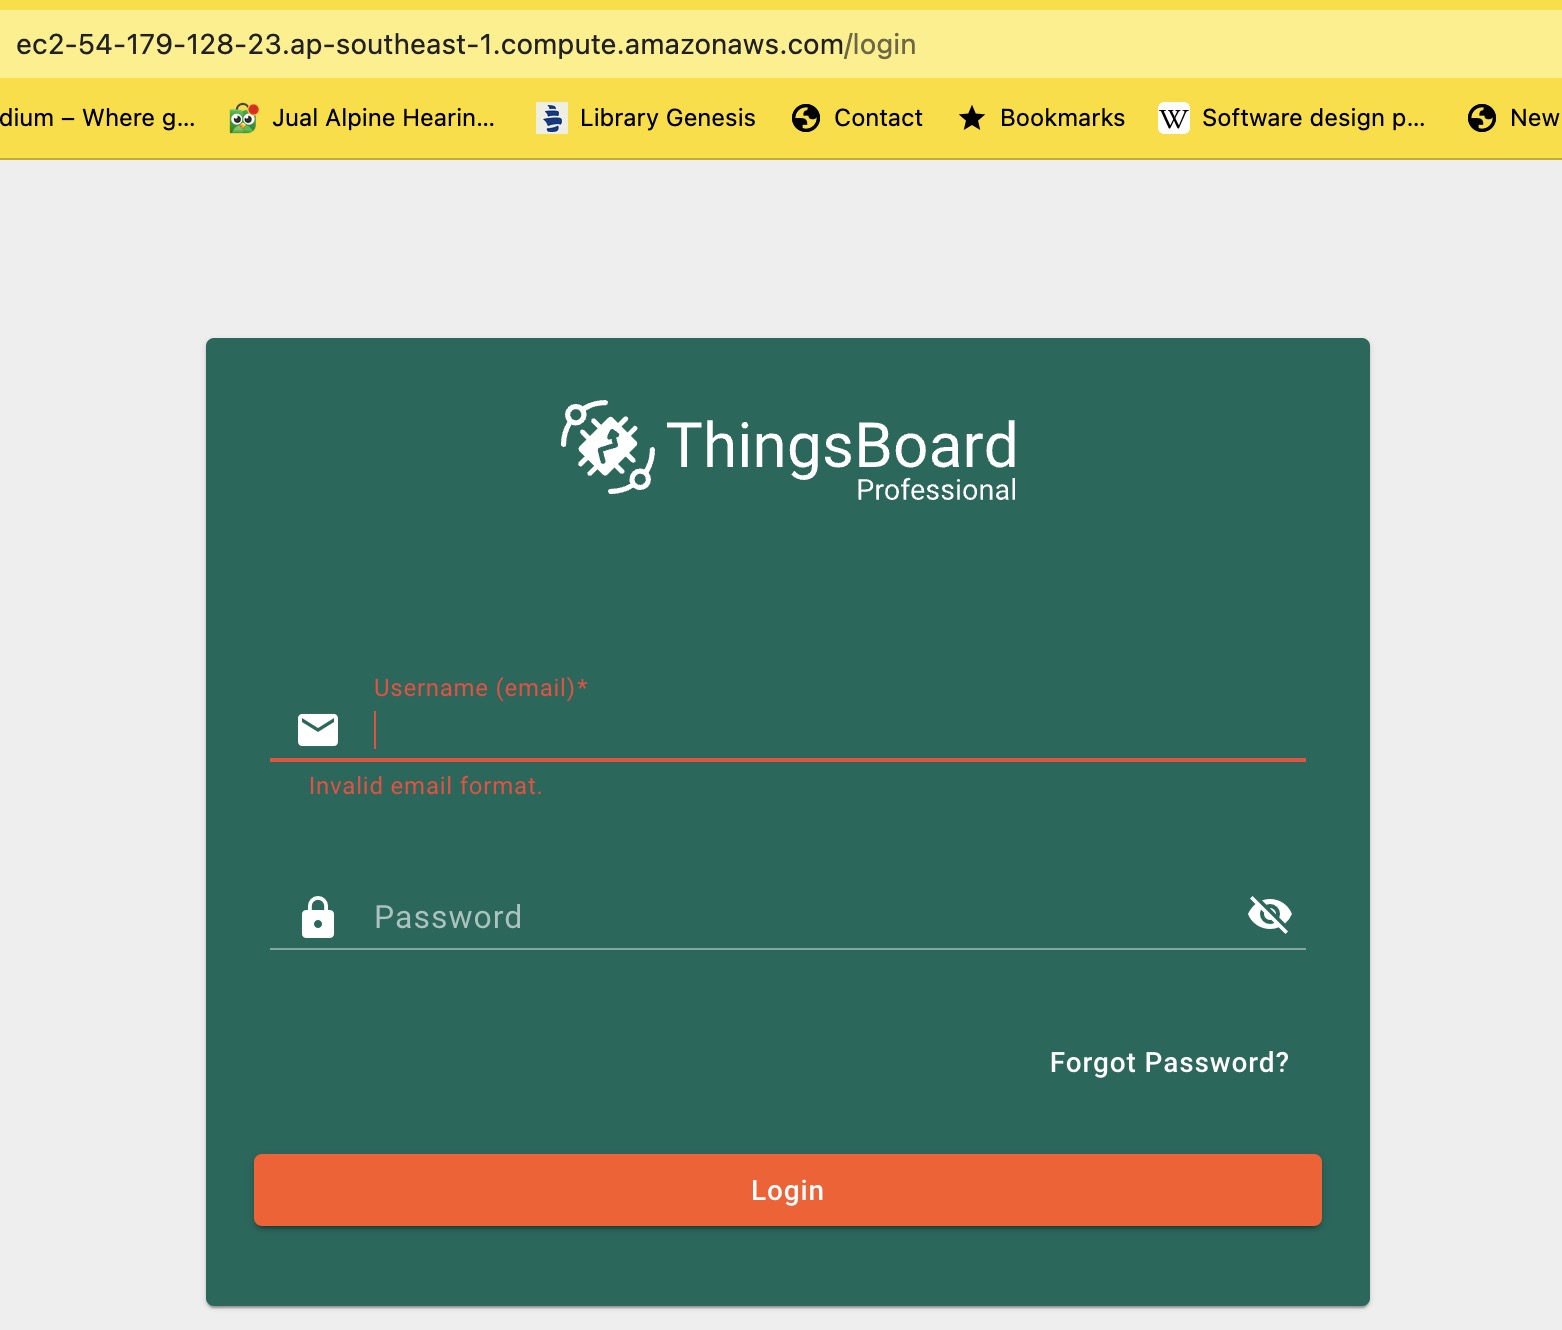
Once the thingsboard already up and running and you already update the license secret, go to your EC2 instances public DNS and login using following username and password
| No | Data | Default Value |
|---|---|---|
| 1 | Username | sysadmin@thingsboard.org |
| 2 | Password | Your EC2 Instances ID |
Wrap Up
if you login with correct credential you’ll be able to see the thingswork administrator panel.
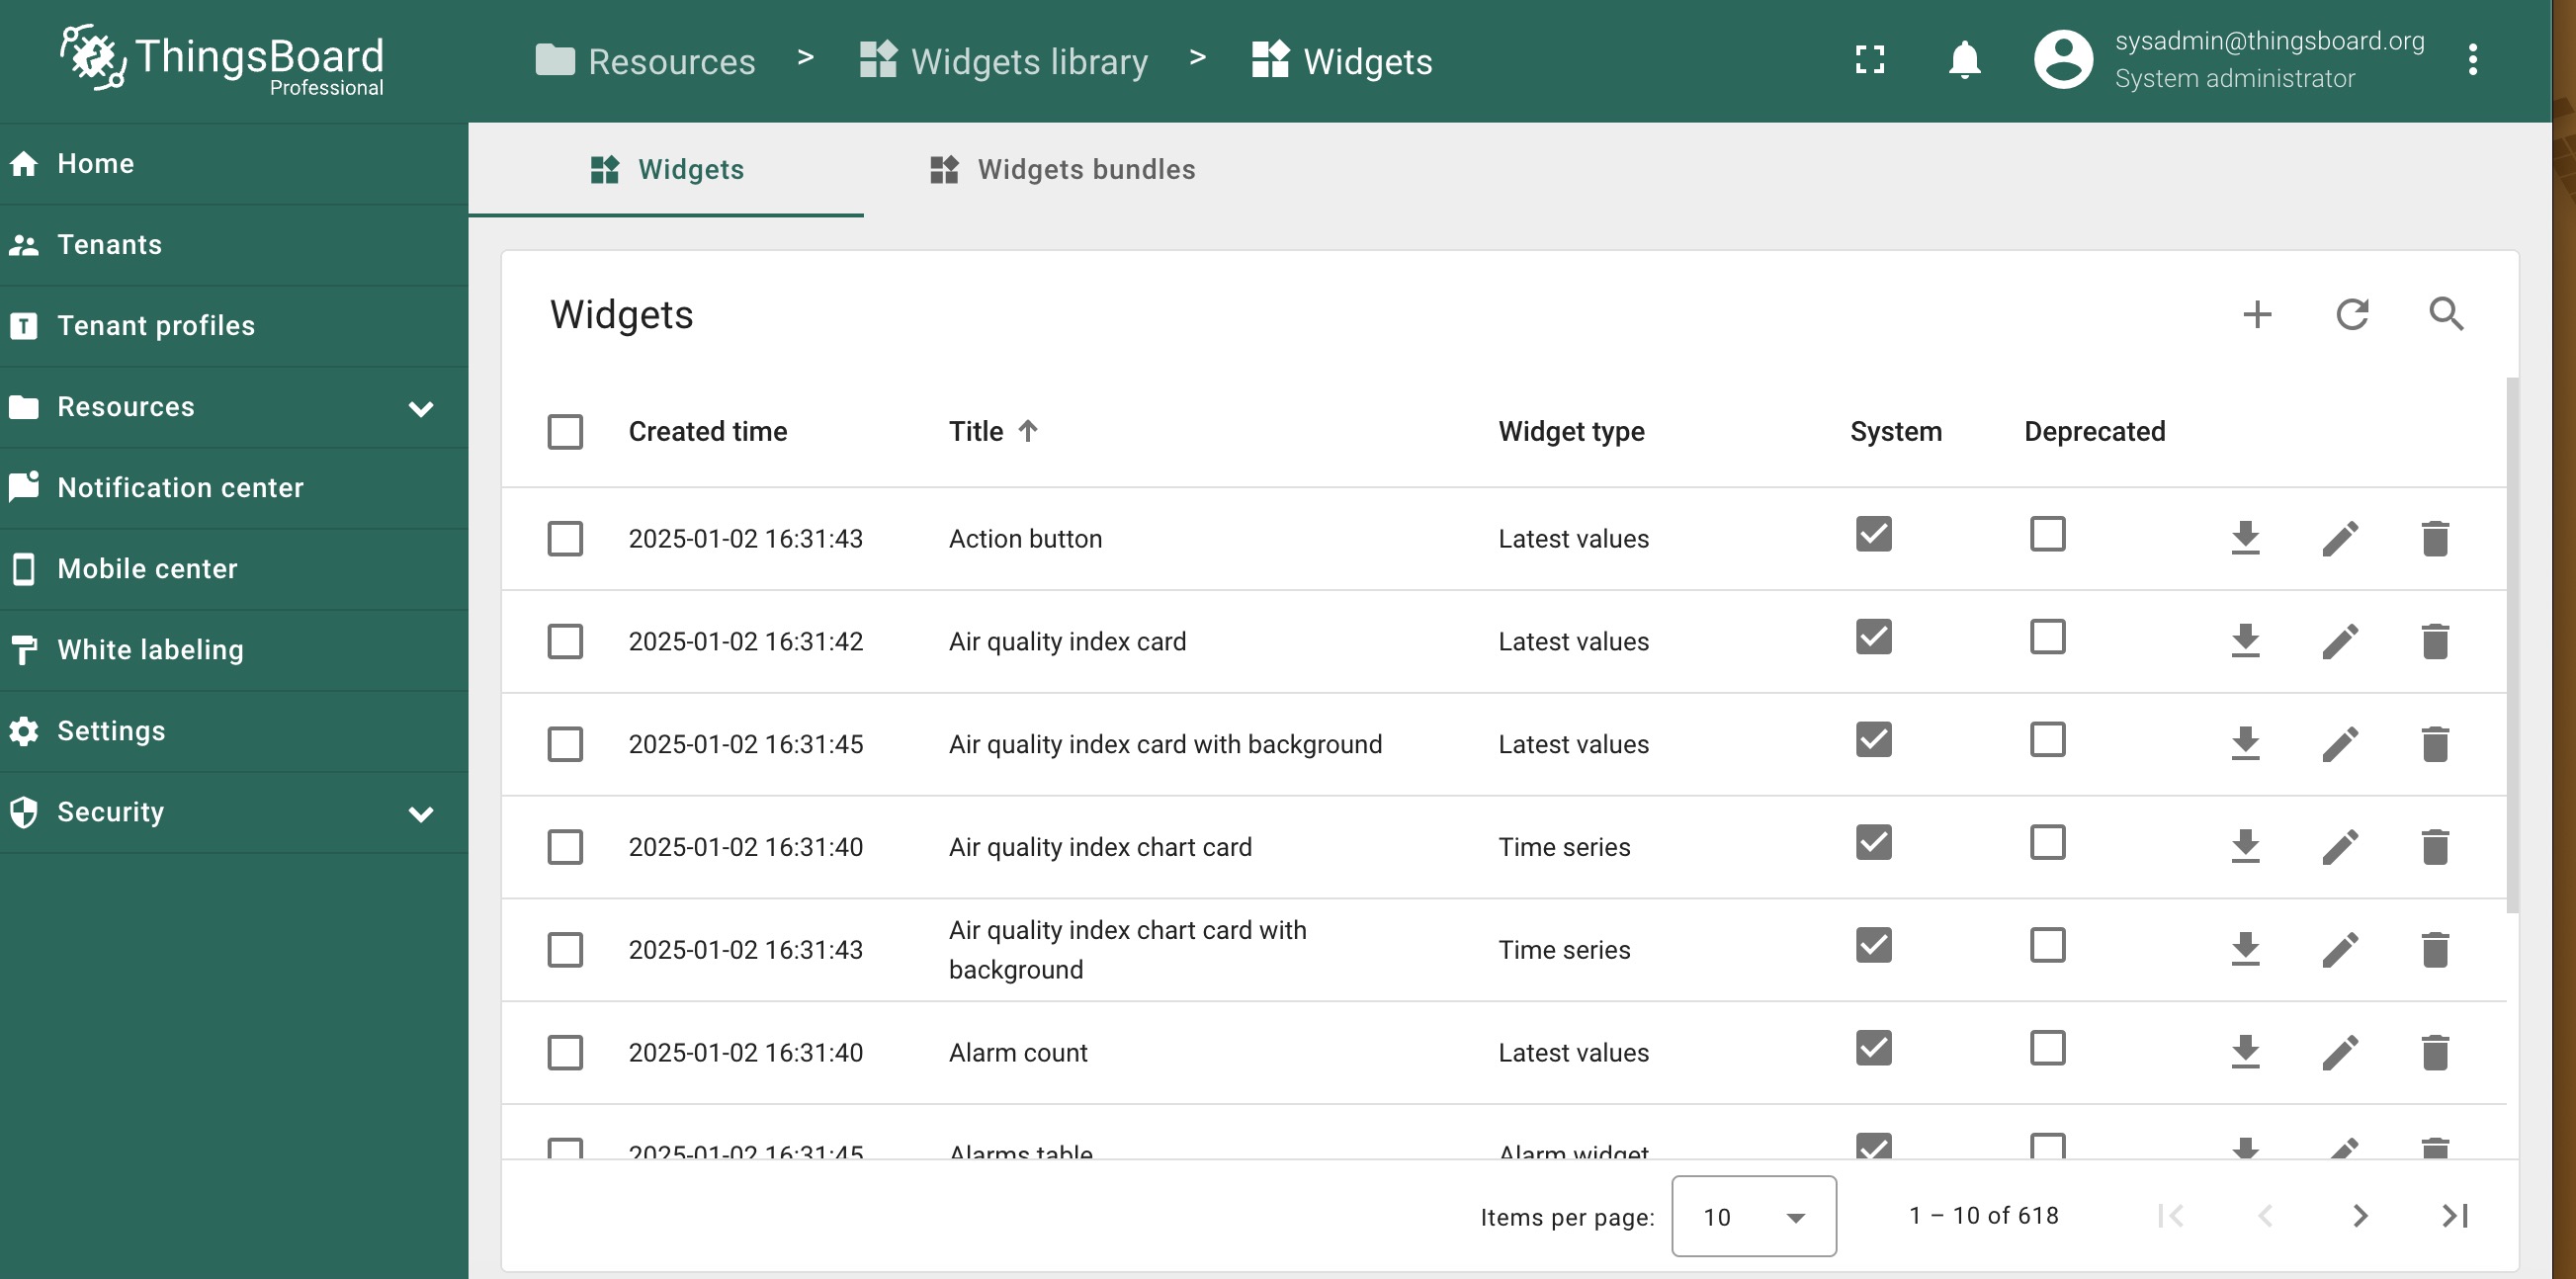
Done, you should now be able to configure your tenant and other features of thingswork. On next article we’re going to discuss how to integrate thingsboard with AWS IoT Core.
References
- https://docs.aws.amazon.com/ec2/
- https://thingsboard.io/docs/user-guide/install/pe/aws-marketplace/